Import Simple Analytics Data
HitKeep imports Simple Analytics history from the raw datapoints CSV. In Simple Analytics, open the website settings, choose Export data, click Go to our export page, then export All data as CSV for the date range you want to migrate. In HitKeep, use the Imports page for the destination site.
Before You Export
Section titled “Before You Export”You need access to the Simple Analytics website you are moving and site.manage_data access for the destination HitKeep site.
HitKeep accepts any .csv file whose header matches the Simple Analytics raw datapoints schema. The filename is only used for display, validation warnings, and import history.
Export From Simple Analytics
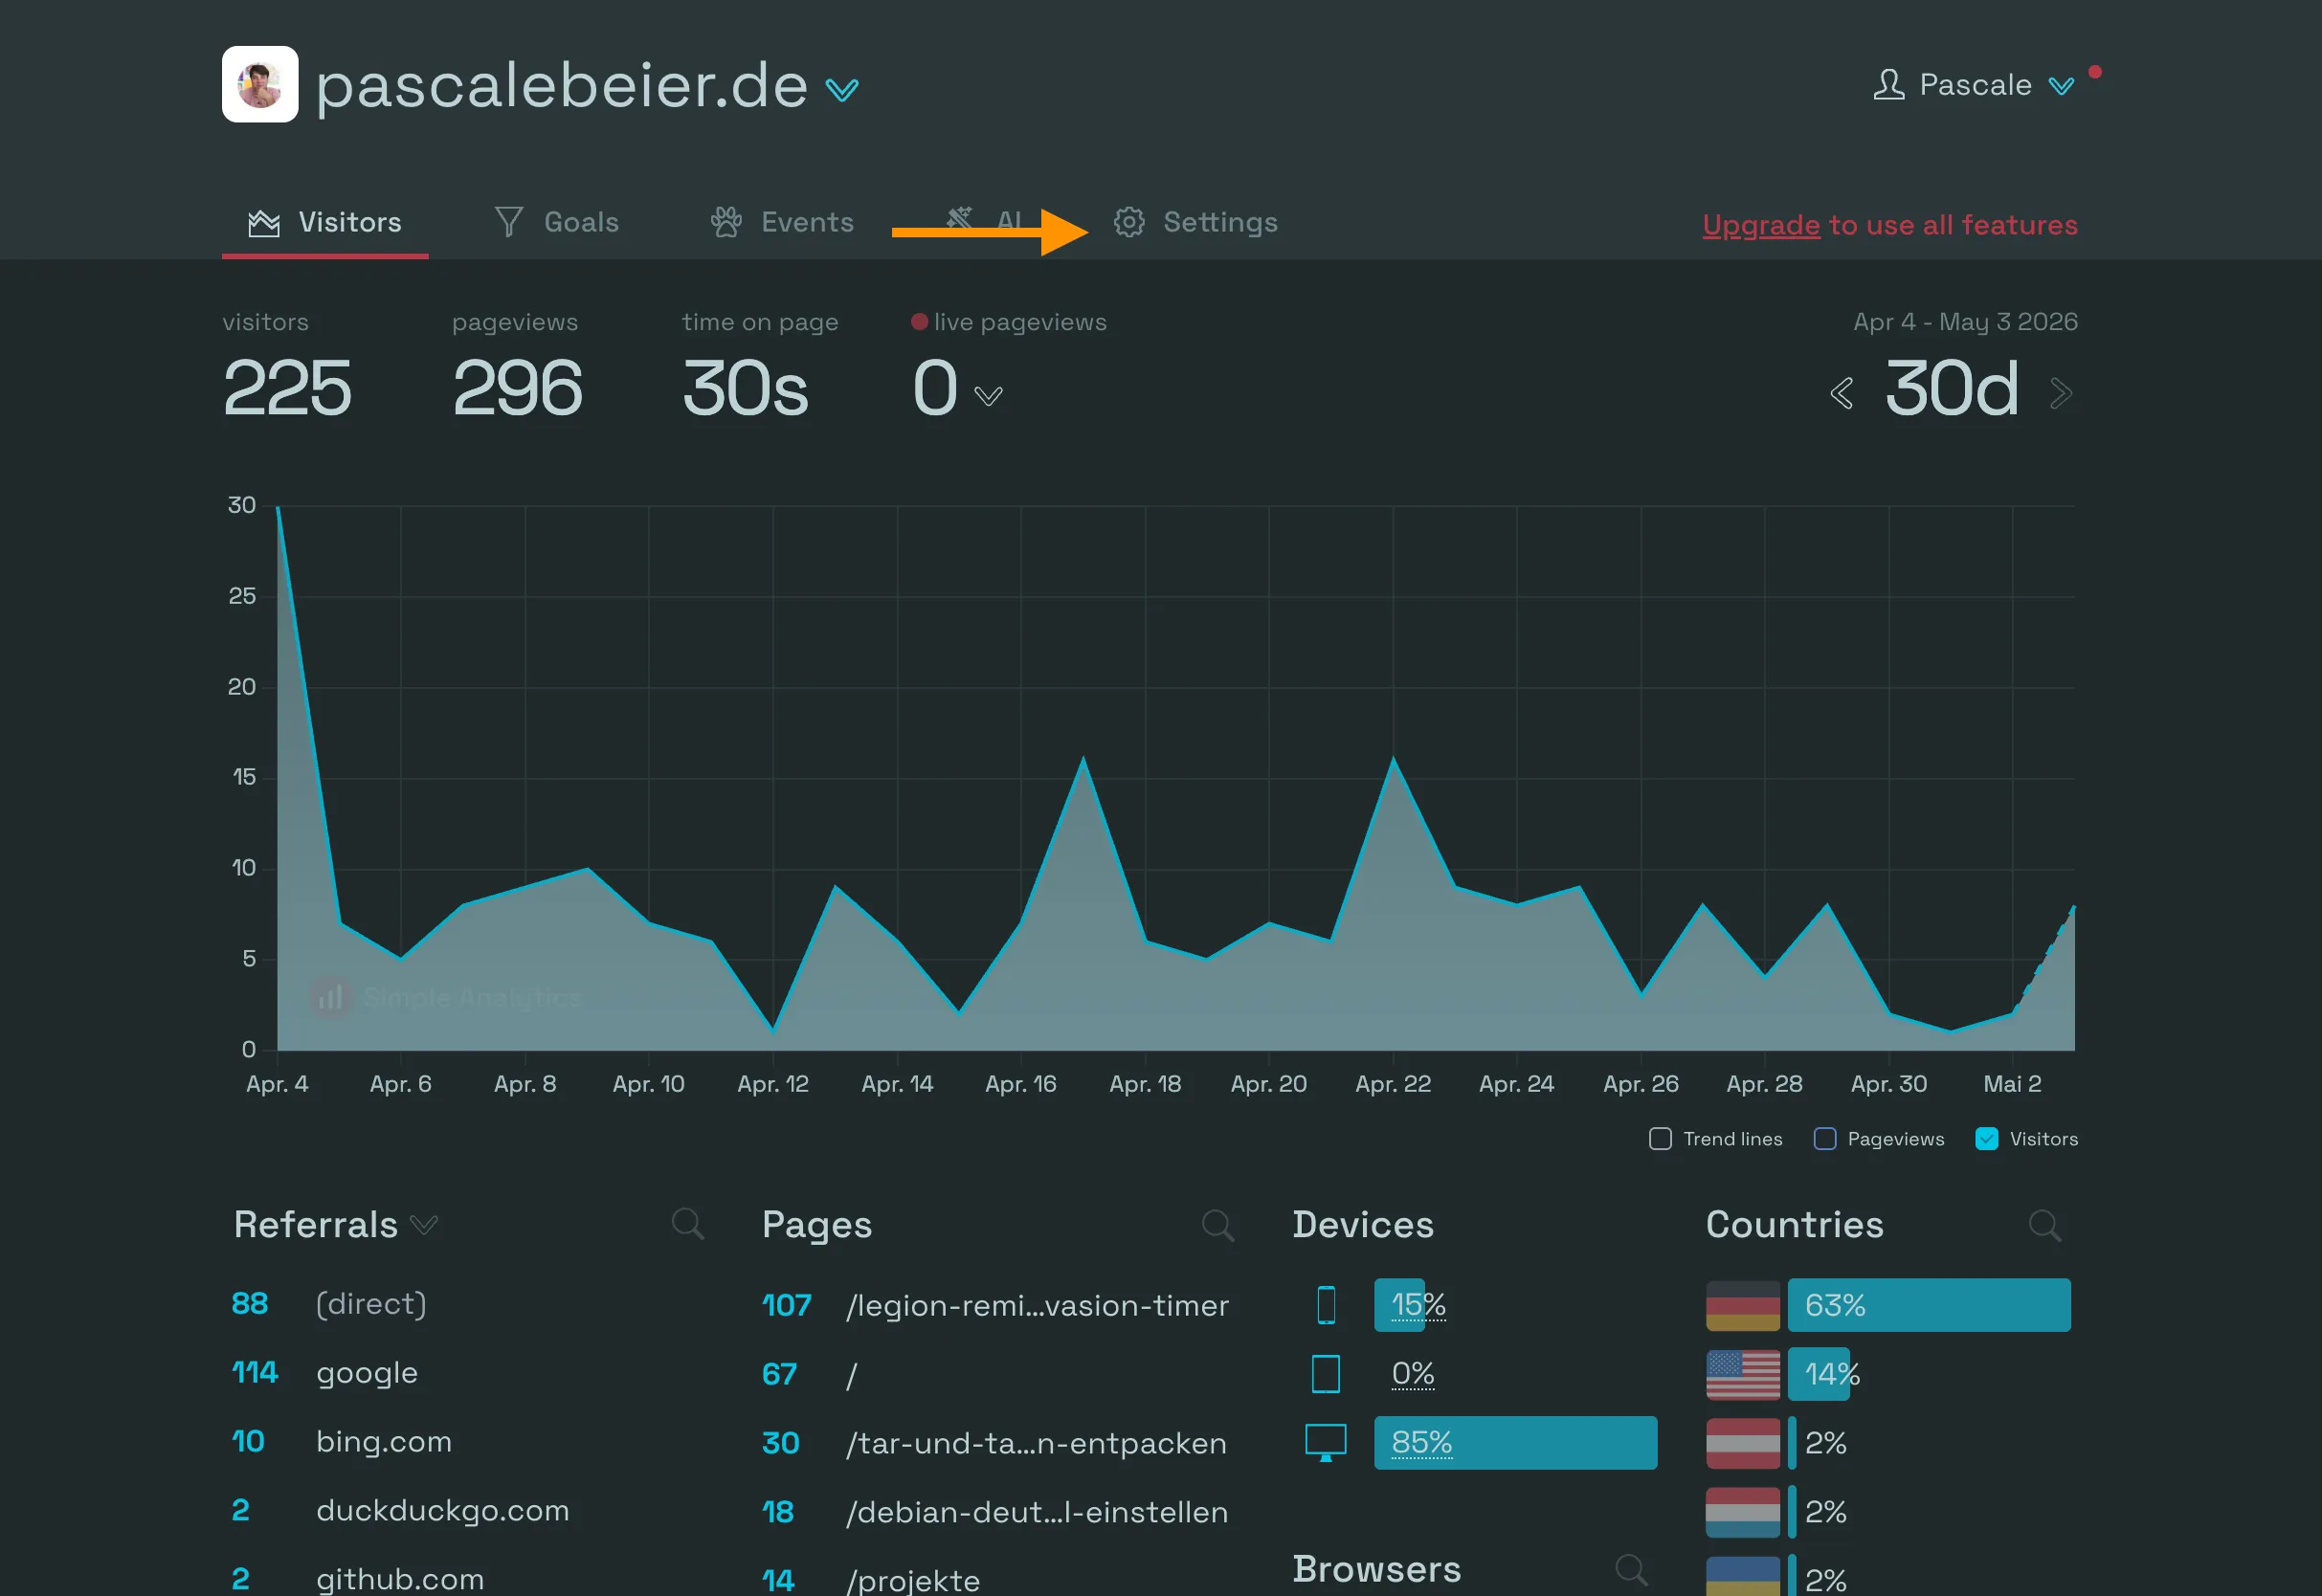
Section titled “Export From Simple Analytics”- Open Simple Analytics and select the website.
- Go to Website settings.
- Open Export data.
- Click Go to our export page.
- Set the export type to All.
- Pick the date range you want to import.
- Set the format to CSV.
- Click Export and download the datapoints CSV.

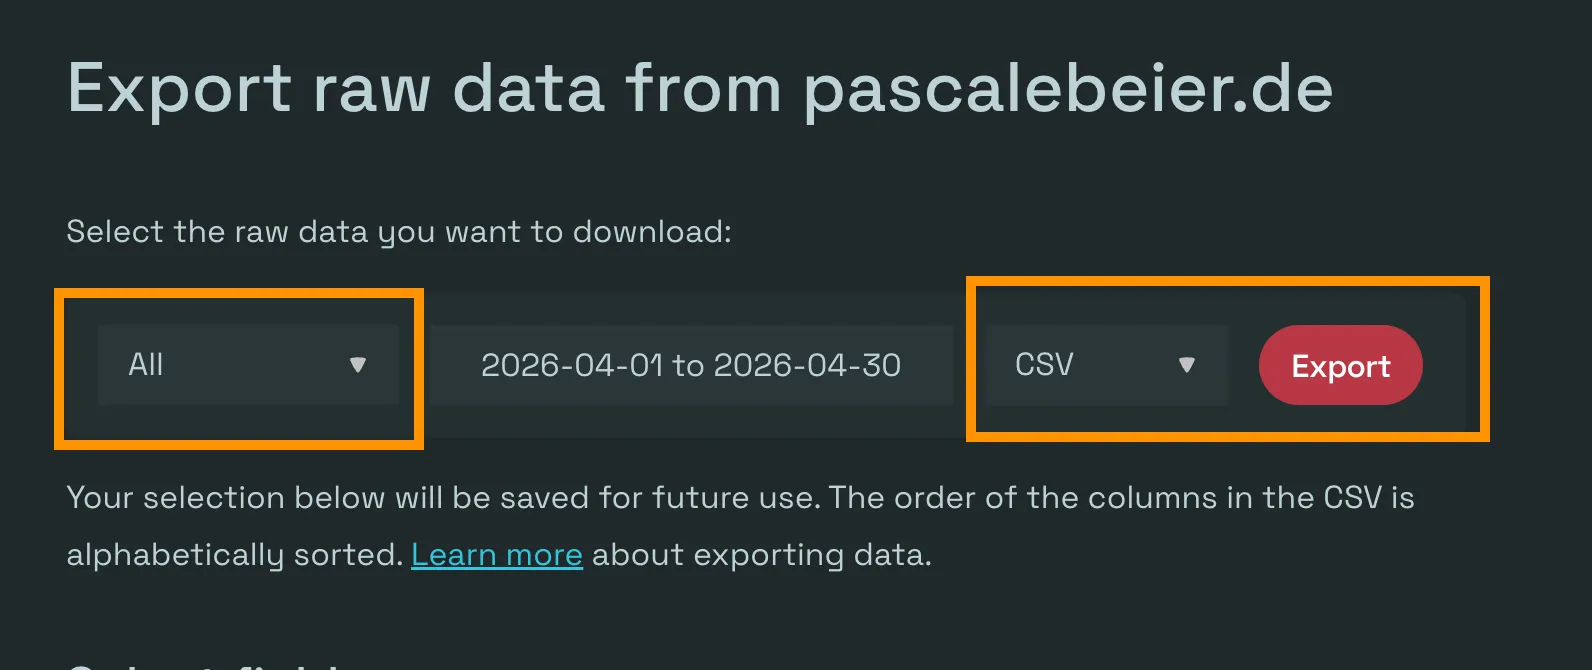
Use All rather than a single report export. HitKeep expects the raw datapoints CSV with fields such as added_iso, datapoint, path, document_referrer, device_type, country_code, is_unique, and duration_seconds. If the export includes optional fields such as browser_name, browser_version, lang_language, and lang_region, HitKeep imports those into browser and language reports too.
Import Into HitKeep
Section titled “Import Into HitKeep”- In HitKeep, select the destination site.
- Open Imports from the left navigation.
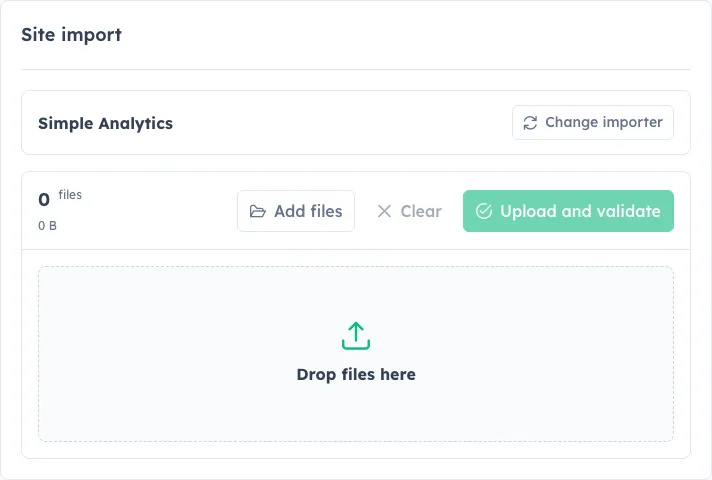
- Choose Simple Analytics as the importer.
- Upload the downloaded datapoints CSV.
- Run validation and review the date range, row counts, accepted rows, skipped rows, and warnings.
- Start the import after the validation summary matches what you expect.
The import writes to the currently selected HitKeep site. If you manage multiple sites, check the site switcher before uploading the CSV. HitKeep uses that selected site’s domain to suppress self-referrers from the imported source breakdown.
CLI Import
Section titled “CLI Import”The CLI reuses HITKEEP_PUBLIC_URL when it is already set, and otherwise talks to http://localhost:8080. Pass --url only when running the command from a different machine.
You can validate the same file from the command line:
hitkeep import validate simpleanalytics --site <site-id> --file simple-analytics-export.csvStart the import after reviewing the manifest:
hitkeep import simpleanalytics --site <site-id> --file simple-analytics-export.csv --waitWhat HitKeep Imports
Section titled “What HitKeep Imports”HitKeep imports Simple Analytics pageview history into compatible aggregate reports:
| Simple Analytics field | HitKeep report data |
|---|---|
added_iso | Daily traffic date |
is_unique | Visitors and visits |
datapoint=pageview | Pageviews |
duration_seconds | Visit duration totals |
path | Top pages |
document_referrer | Top sources |
device_type | Device breakdown |
country_code | Country breakdown |
browser_name / browser_version | Browser breakdown when present |
lang_language / lang_region | Language breakdown when present |
utm_source | UTM source breakdown |
Simple Analytics datapoints exports do not include everything HitKeep can track natively. Bounce counts and native HitKeep event relationships are not invented during import. Browser and language dimensions are imported only when the CSV includes the relevant fields. If the CSV contains unsupported datapoint types, validation reports them as skipped rows so you can review the coverage before importing.
After Import
Section titled “After Import”Open the destination site’s dashboard and select the imported date range. The imported pageviews, visitors, pages, sources, devices, countries, browser names, language codes, and UTM source data appear in compatible historical reports when those fields exist in the CSV.
For API automation, use the import endpoints under the Imports API reference.